Restoring my wordpress website
Table of contents
Previously, we discussed regarding setting up and configuring our own wordpress server. Once that is done, we will either want to:
- Start building our wordpress site from scratch or
- Restore our website from an existing backup.
Since we had a production site prior to the downtime, we’d want to restore our back up, and I’ll step down the steps that I took – step-by-step!
This actually simply highlights the importance of taking periodic backups. Imaging if we didn’t have a backup of our production site, then we’d need to rebuild our site from scratch – what a nightmare (or we’d be dependent on our hosting provider to get our site back up – which in our case took 3-4 calendar days >< – can’t afford that much downtime given what’s at stake!)
So checkout our steps below!
Configuring our DNS
Since our original hosting was down, we’ll need to configure our DNS to point to the remote server that we spun up. For this article, I’ll use demo.petcoach.sg.
Since our DNS is managed using Cloudflare, we added/updated our DNS records to have demo.petcoach.sg point towards our server IP: 172.105.118.241. See the screenshot below for reference: 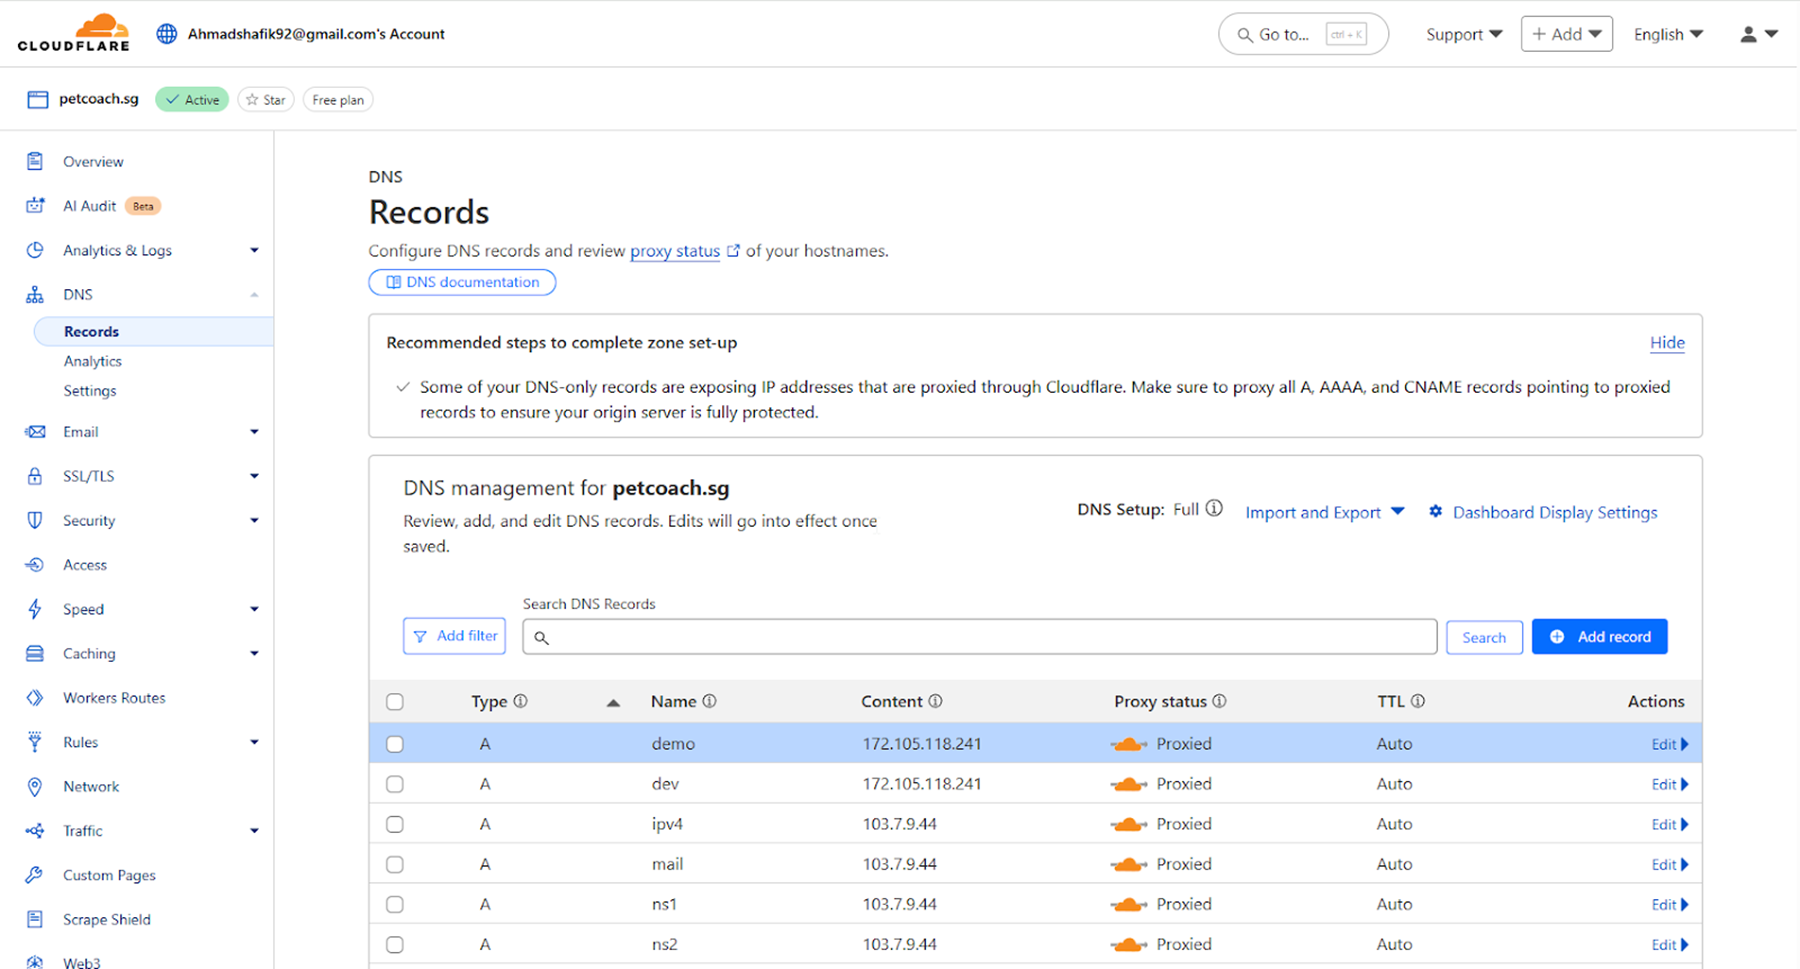
Configure Server for Domain
Next, we need to explicitly configure our server to receive traffic for the demo.petcoach.sg domain:
- Create a config file using this command
sudo vim /etc/apache2/sites-available/demo.petcoach.sg.conf- In the config file, I set the server to listen on the hostname
demo.petcoach.sg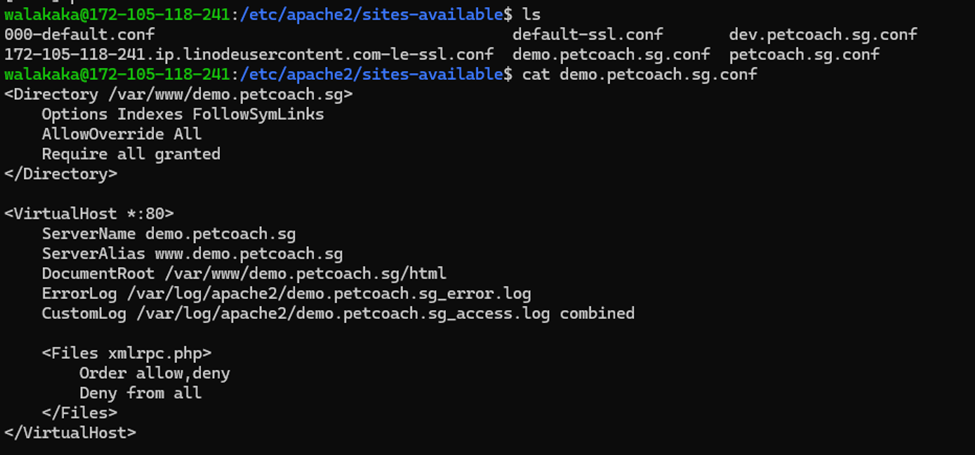
- You can find the snippet of our configuration below for reference
- In the config file, I set the server to listen on the hostname
<Directory /var/www/demo.petcoach.sg>
    Options Indexes FollowSymLinks
    AllowOverride All
    Require all granted
</Directory>

<VirtualHost *:80>
    ServerName demo.petcoach.sg
    ServerAlias www.demo.petcoach.sg
    DocumentRoot /var/www/demo.petcoach.sg/html
    ErrorLog /var/log/apache2/demo.petcoach.sg_error.log
    CustomLog /var/log/apache2/demo.petcoach.sg_access.log combined

    <Files xmlrpc.php>
        Order allow,deny
        Deny from all
    </Files>
</VirtualHost>
This config, will have to later be activated – we go through this in the next section.
Create a directory and activate the config
- After the config is set, we also need to create the directory for
demo.petcoach.sg- This is where all our wordpress files will be hosted
- Create the directory using this command
sudo mkdir -p /var/www/demo.petcoach.sg/html - Subsequently, give wordpress access to those directories
sudo chown -R www-data:www-data /var/www/demo.petcoach.sg
- Once the directory is set, we need to activate the configuration
- Activate the configuration using this command:
sudo a2ensite demo.petcoach.sg.conf - Restart apache so that the configuration is loaded:
sudo systemctl reload apache2 - Once restarted, verify that the config is loaded by inspecting the configuration:
apache2ctl -S - You can see the our
demo.petcoach.sgconfiguration is active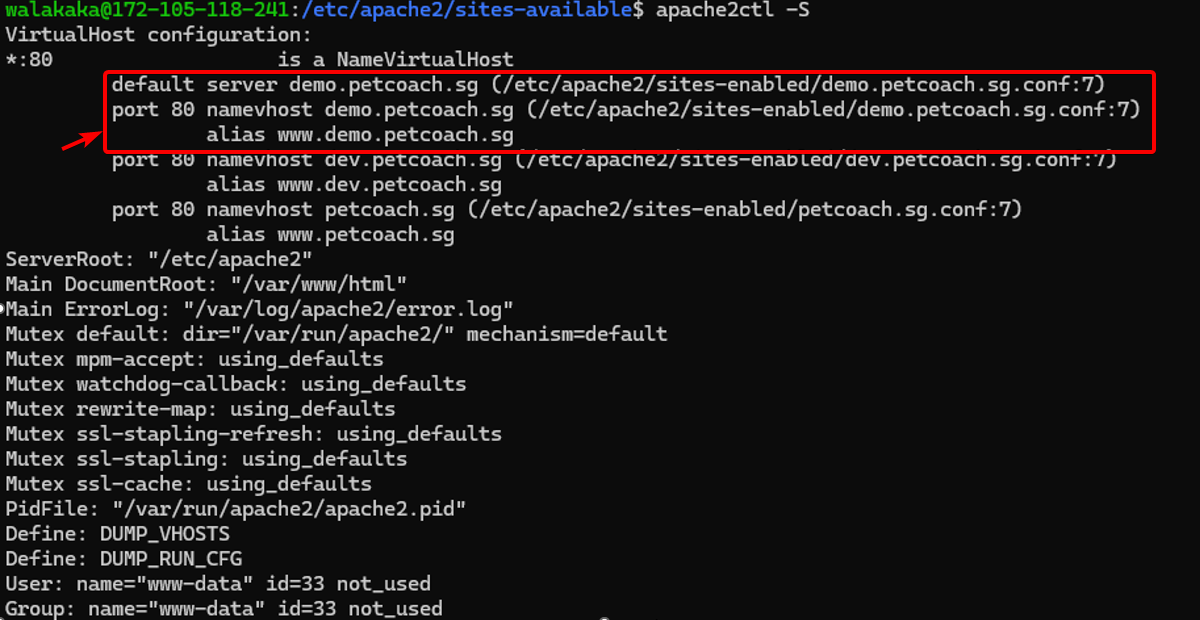
- Activate the configuration using this command:
- Since we have set the configuration, next we want to sanity check that traffic to
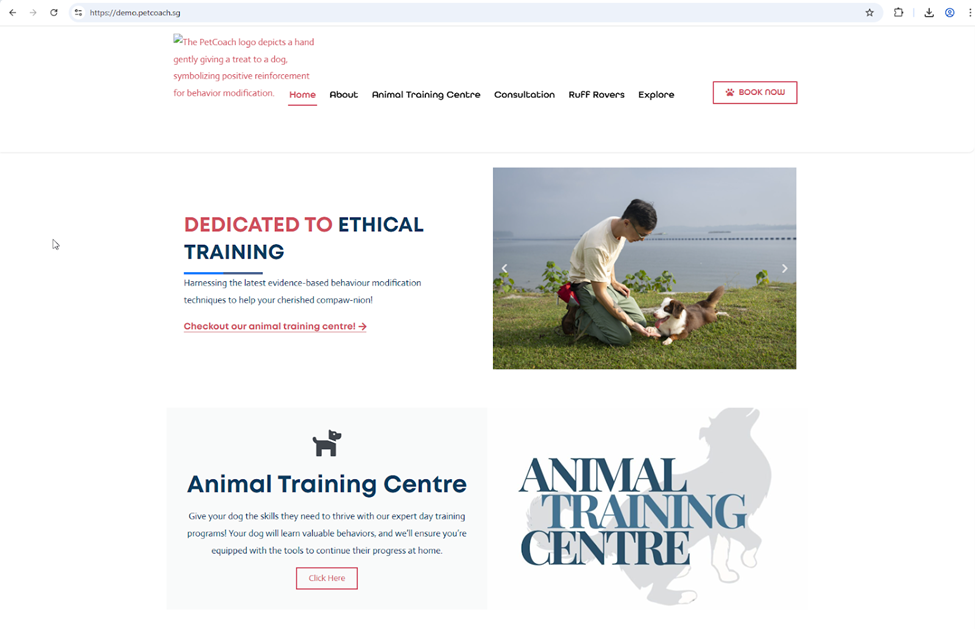
demo.petcoach.sgis indeed reaching our server- Hitting
demo.petcoach.sgreaches this site:
- We can verify that this is indeed our site, by checking the access logs. See screenshot below to see our traffic logged in the access logs:
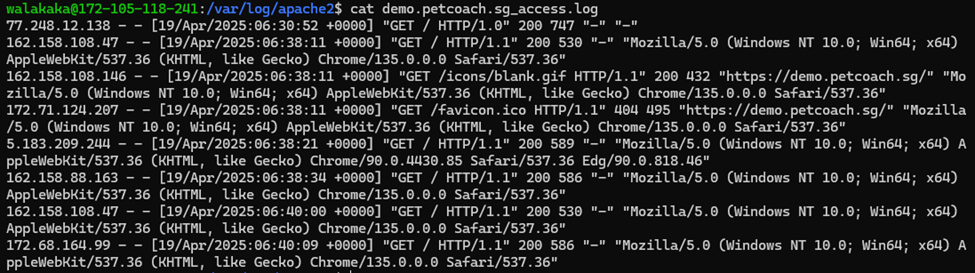
- Hitting
Since traffic is already reaching our site, and the site is serving the wordpress website correctly. The next step is to load our wordpress files and database into the wordpress server!
Restoring Wordpress Files and DB
- We transfer the backup files from our local machine into our remote server via SFTP
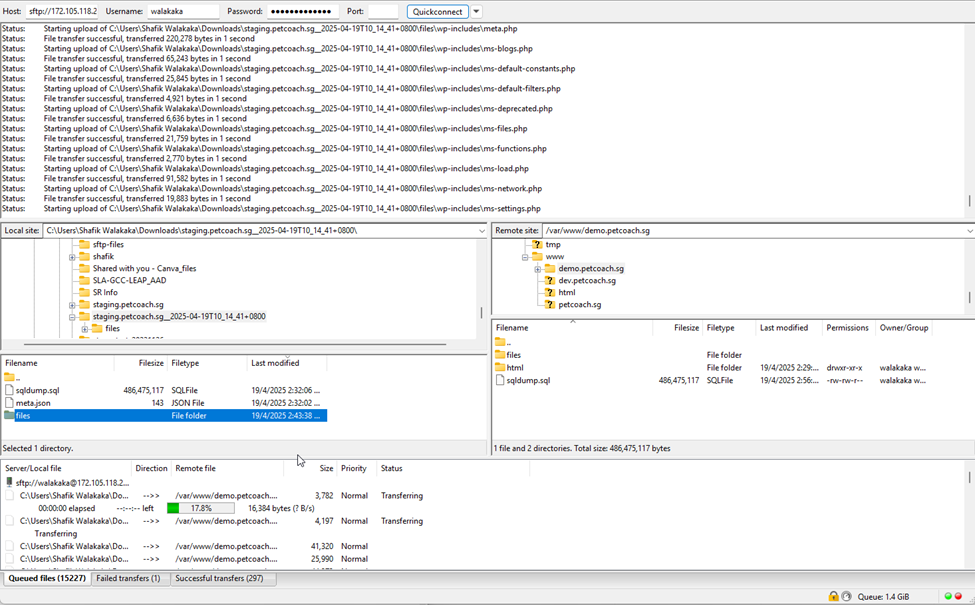
- Once done, we can list the directory to check that the files are transferred:
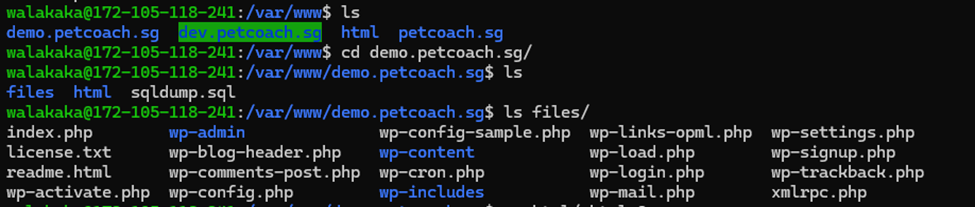
- Since our config has the wordpress files located at
var/www/demo/petcoach.sg/html, update the directory name from files to html
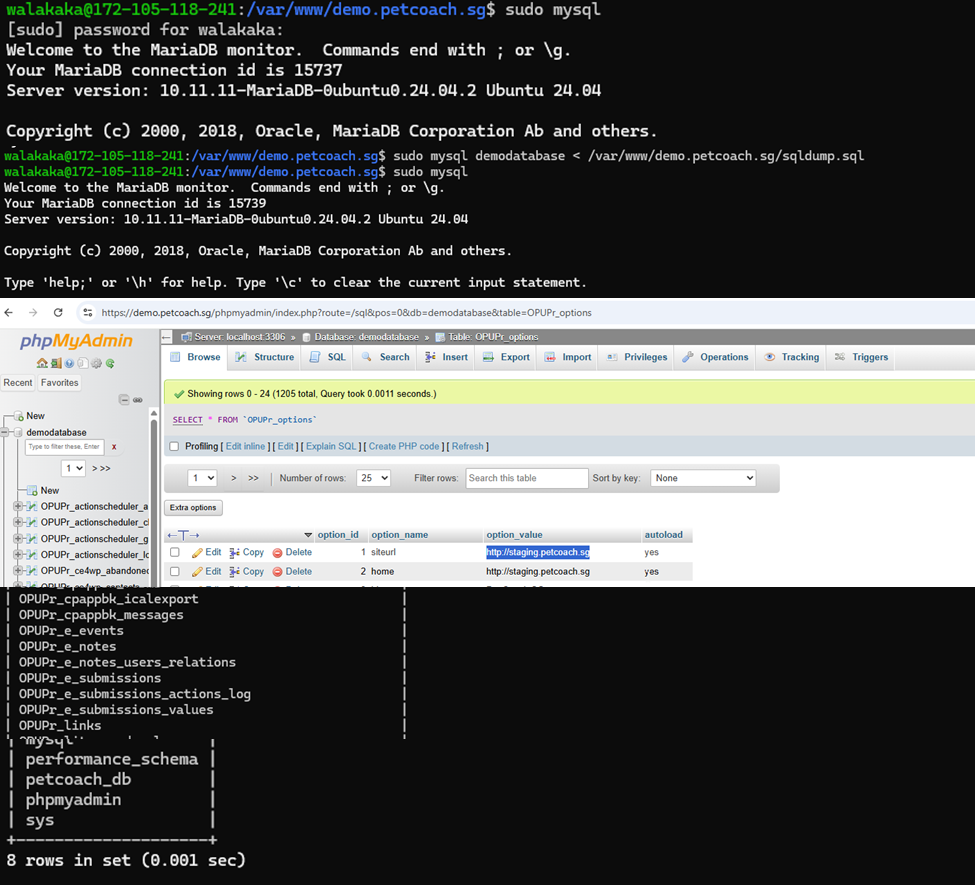
- Now that files are loaded, it’s time to create our database. We name our DB
demodatabase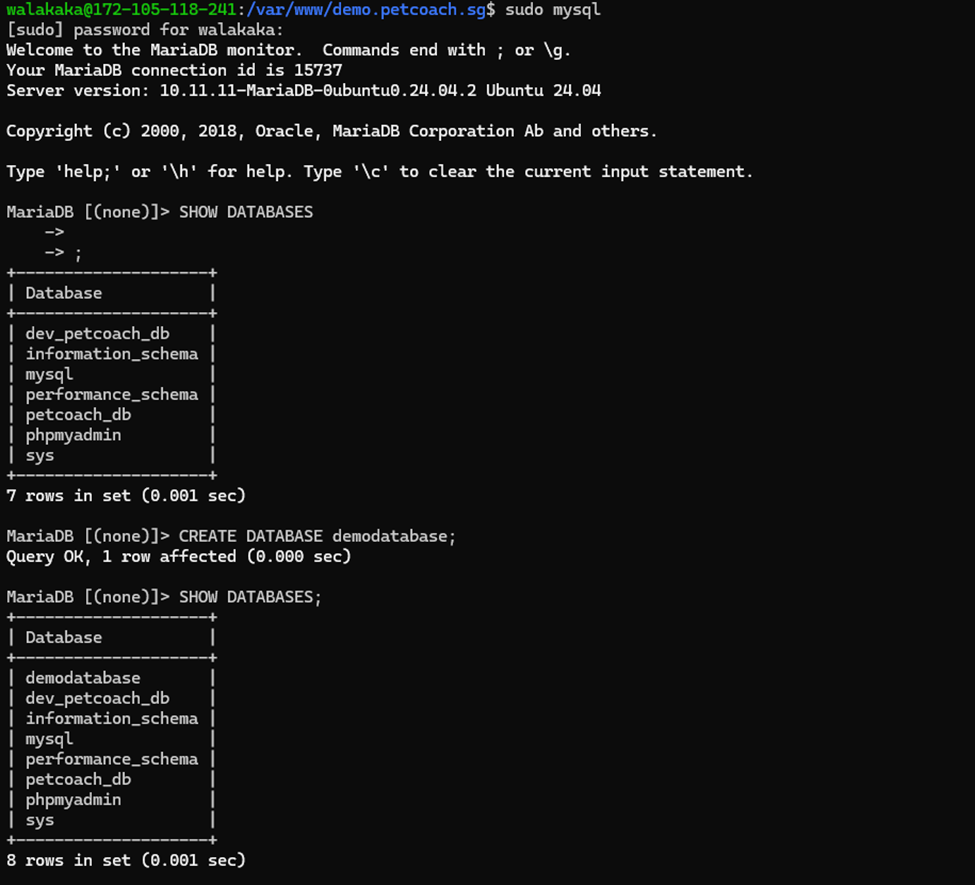
- Now restore our SQL dump (of our prod DB), into this
demodatabase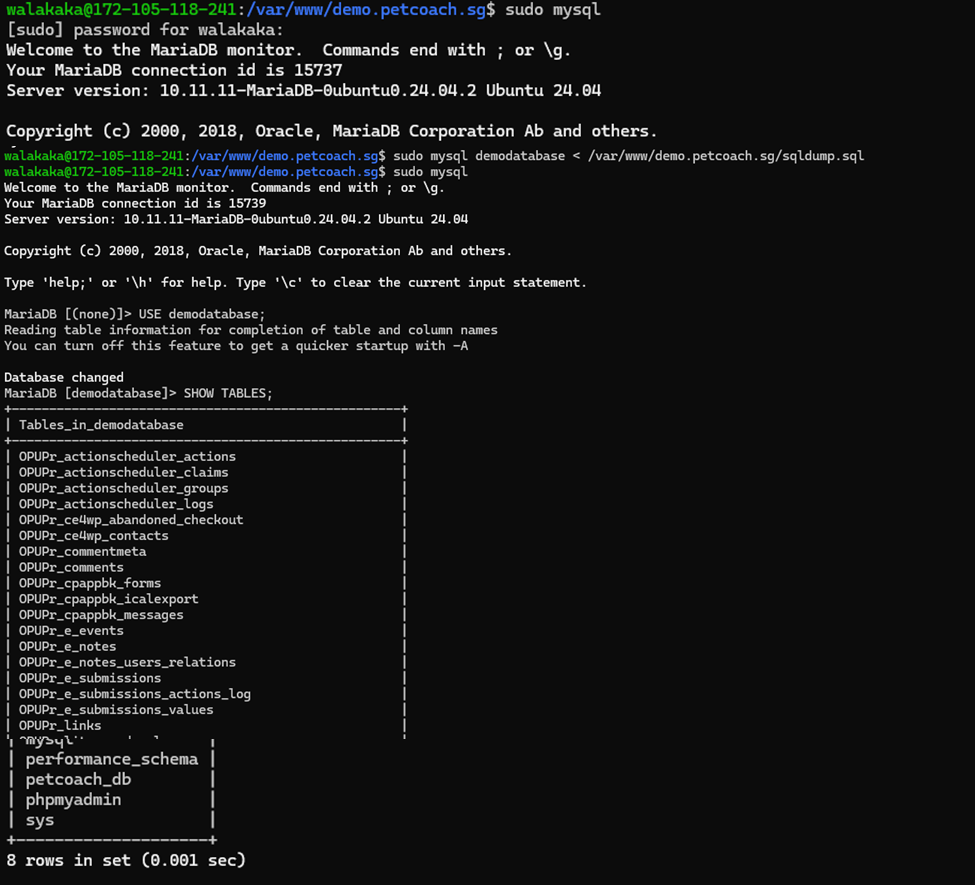
Now the files and database has been restored. It’s time to make some minor configurations, adjustments, and then we can check access to our restored site :)!
Configure your wordpress site
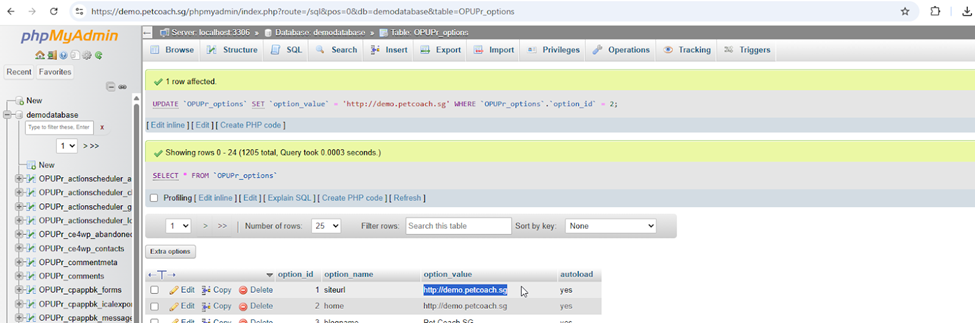
- Configure your
siteurlandhomein wordpress options table to point to your revised domain. Ensure to include the relevant protocol here, for us – it’shttp://demo.petcoach.sg- Original
- Revised
- Original
- We also need to update our database user, name and password (because these details are different in our production site – and the wp-config.php, was copied from our production site)
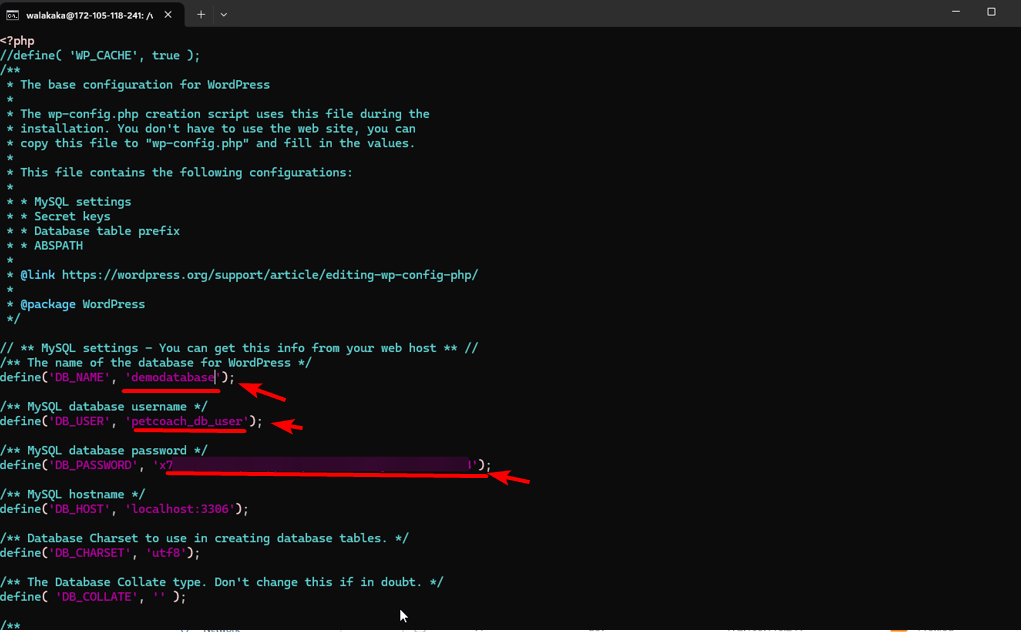
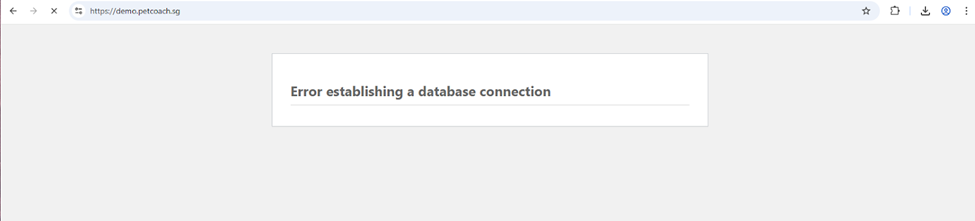
- If you don’t update, you cannot access the site after restoring your files, DB
- Once you updated, you can access your site
- If you don’t update, you cannot access the site after restoring your files, DB
Tell Wordpress that it’s already https
Since my demo site is fronted by Cloudflare, and it’s just a demo site – and I’m not actually using production data
- My demo origin server is listening on http, port 80
- Cloudflare is serving no https, port 443, and terminating the SSL there. Cloudflare then reaches to my origin on port 80
- So to the users, they are being served from port 80, with no issues
But this causes, several errors: 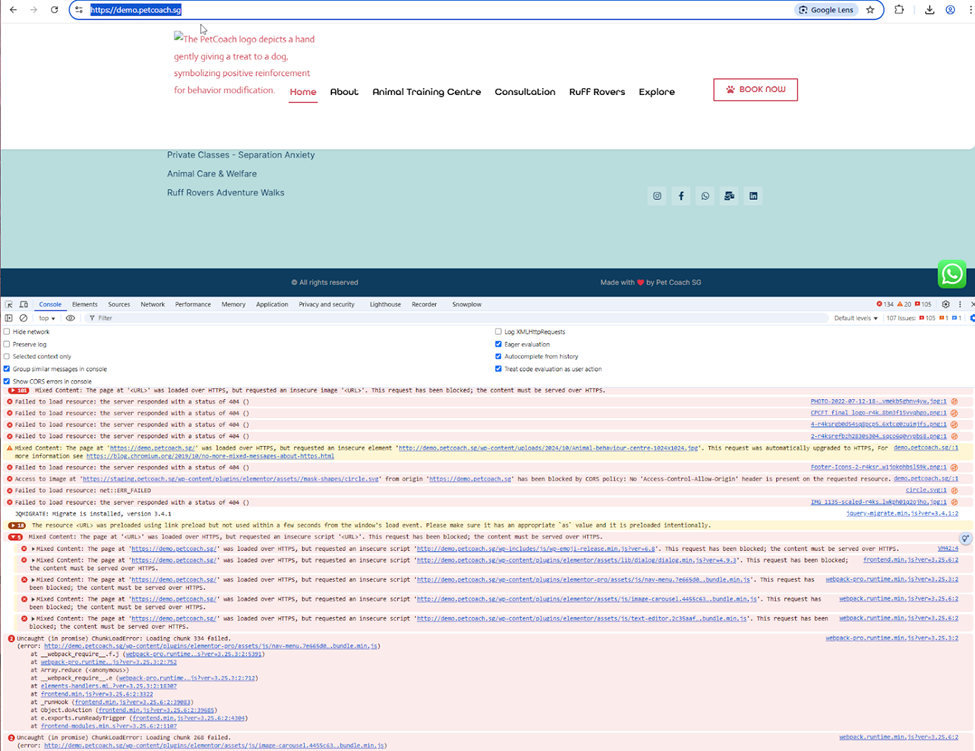
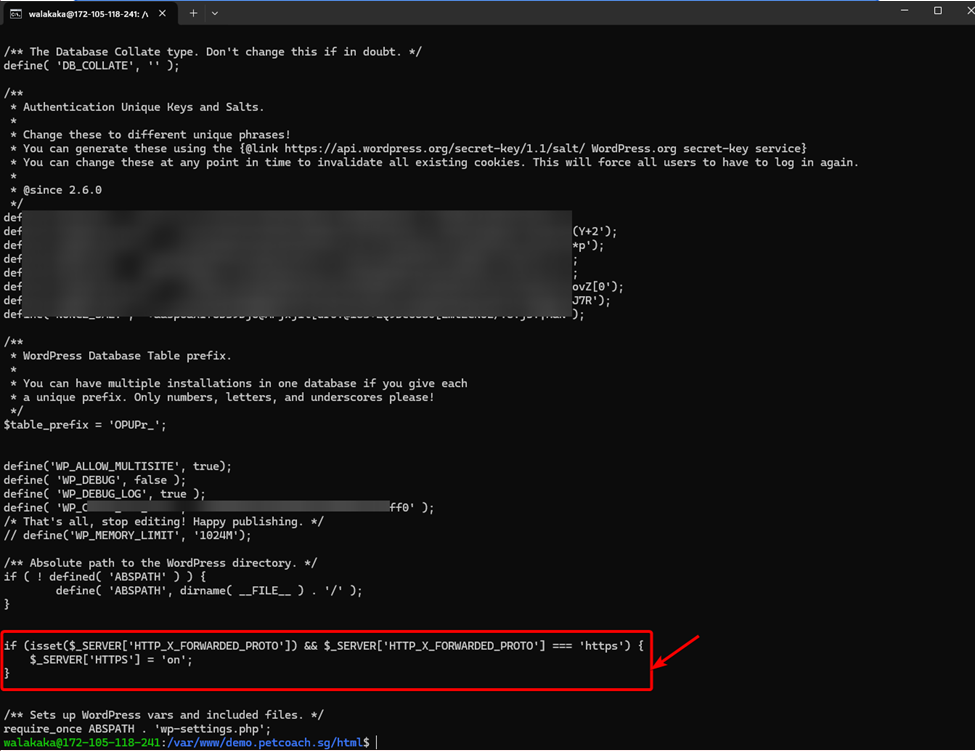
To fix this, we need to tell wordpress that it’s already https, and we do this by including a header when cloudfront is initiating the traffic to wordpress. We add the following into our wp-config.php file:
if (isset($_SERVER['HTTP_X_FORWARDED_PROTO']) && $_SERVER['HTTP_X_FORWARDED_PROTO'] === 'https') {
    $_SERVER['HTTPS'] = 'on';
}
Once we have set the config, access the site again and wala – all errors are gone: 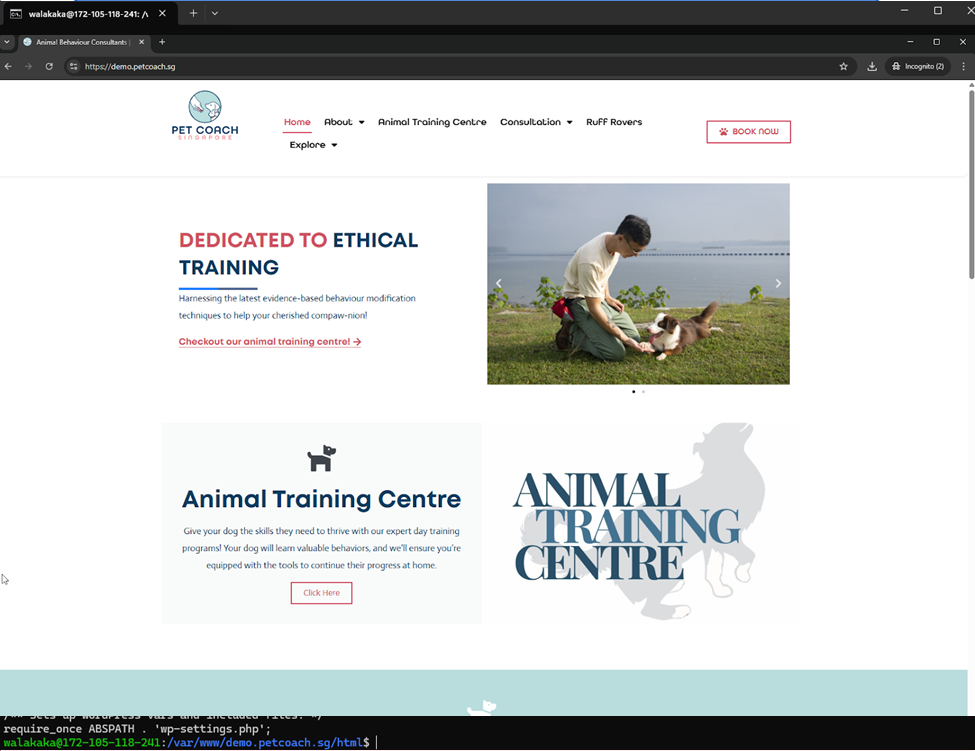
Conclusion
And that’s all folks – now we can access our “production” site that was restored with no errors. And it’s on a site fully hosted and spun up by ourselves.
How cool is that!!