Configure Wordpress from Scratch
Table of contents
Recently, we had a severity 1 issue with our production website. The issue was realized on a weekend, and the site was completely unaccessible!
This not only had significant impact on marketing leads, it also affects our SEO efforts (as Google can be quick to realize a non-functional website and de-index it!).
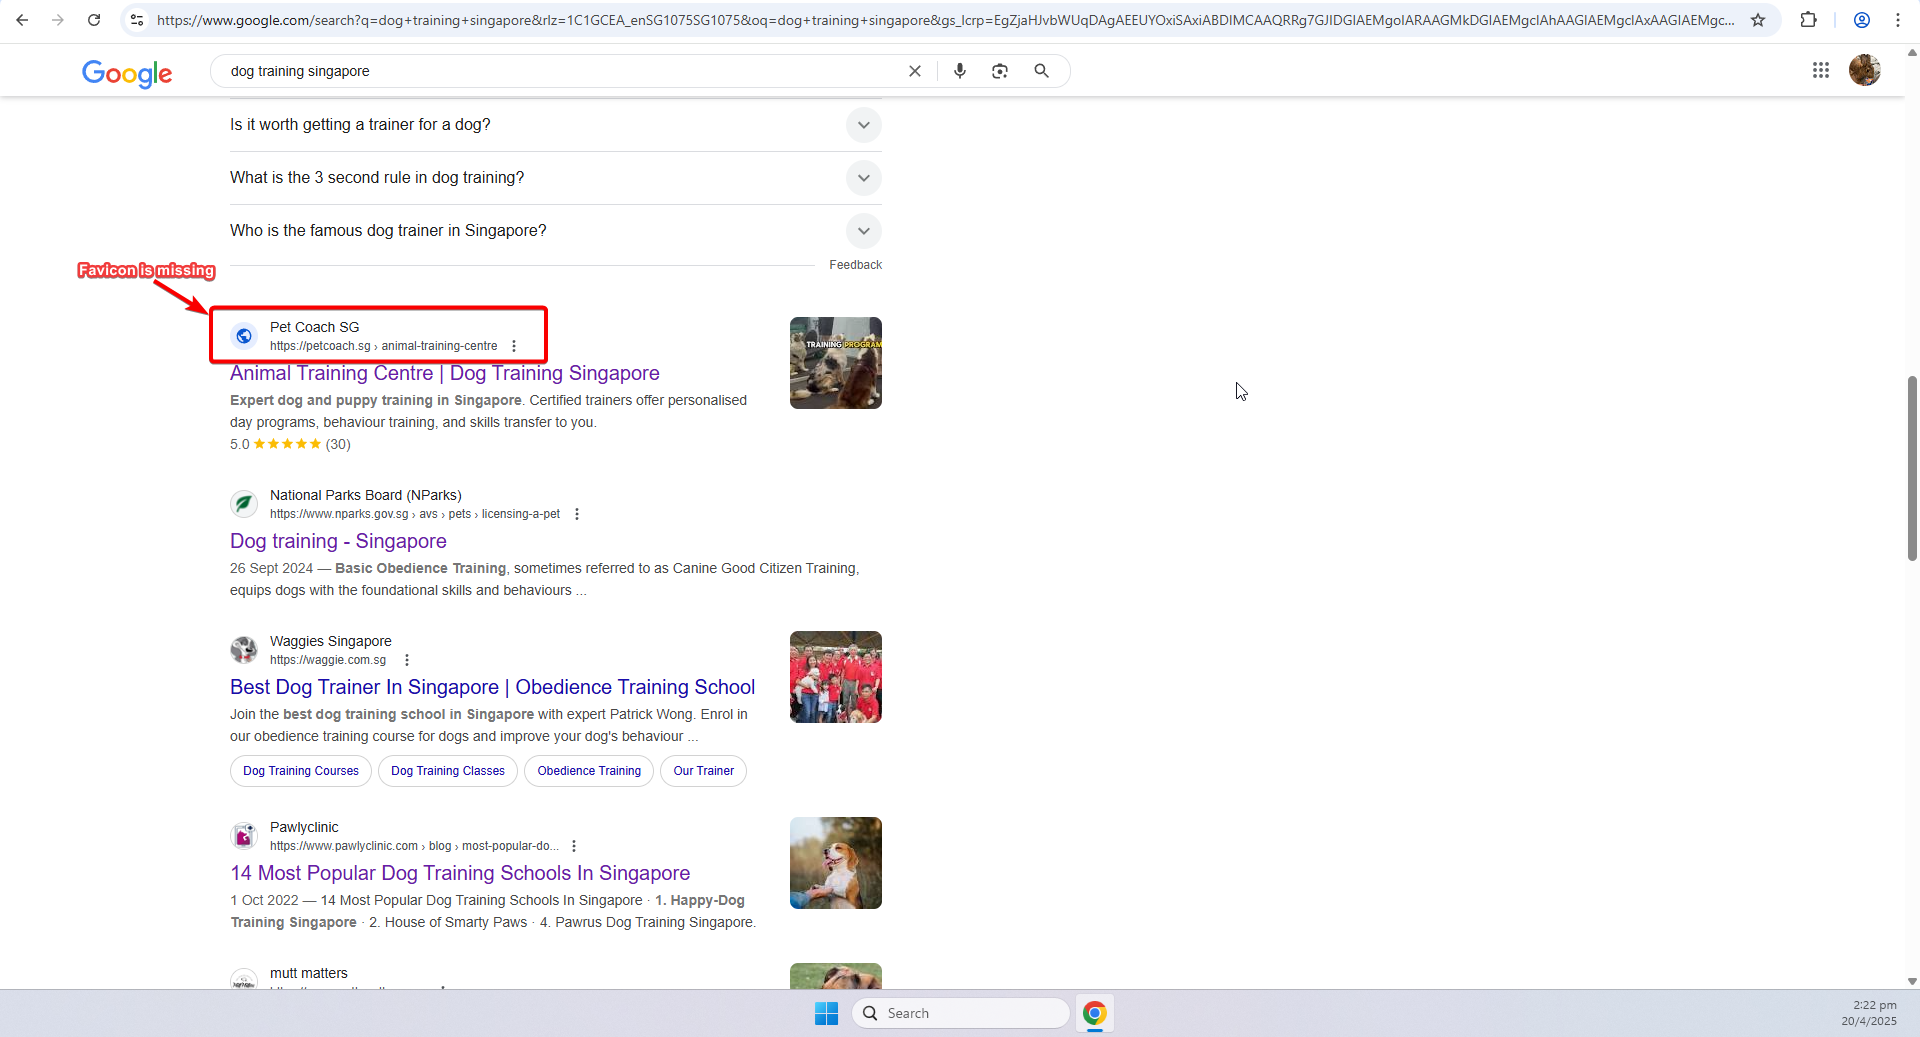
Just as a reference, our favicon was removed from Google’s SERP – and it’s not come back until now. This signficantly affects CTR which would definitely be a ranking factor when Google decides which sites to rank
The Solution
The solution – we had to spin up our own wordpress server ASAP, to mitigate the downtime. Here in this article, I’ll step down the steps that we took – for my own future reference, and hope this helps anyone out there too!
Tech Stack
We decided to use the LAMP stack – simply because that was what I was familiar with:
- Linux
- Apache
- MySQL
- PHP
Furthermore, Linode has a nice marketplace, that already has an image of a linux (Ubuntu) server with the wordpress installation. So we went with this approach for speed!
Spinning up the Linux (Linode) server
Steps are as follows:
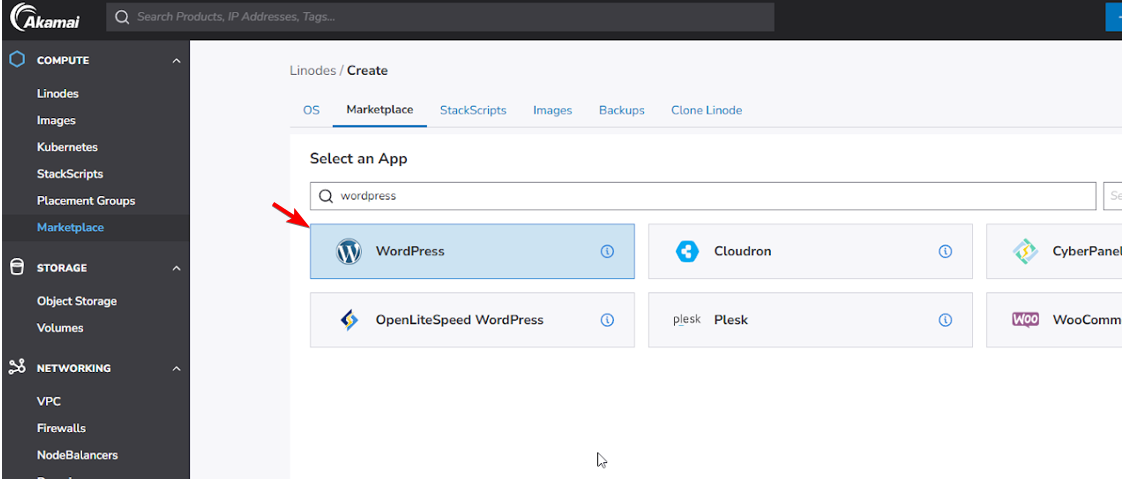
- I logged into Linode and accessed their marketplace. Selected the Wordpress image installation:
- For the configuration, I set it as per the screenshot below
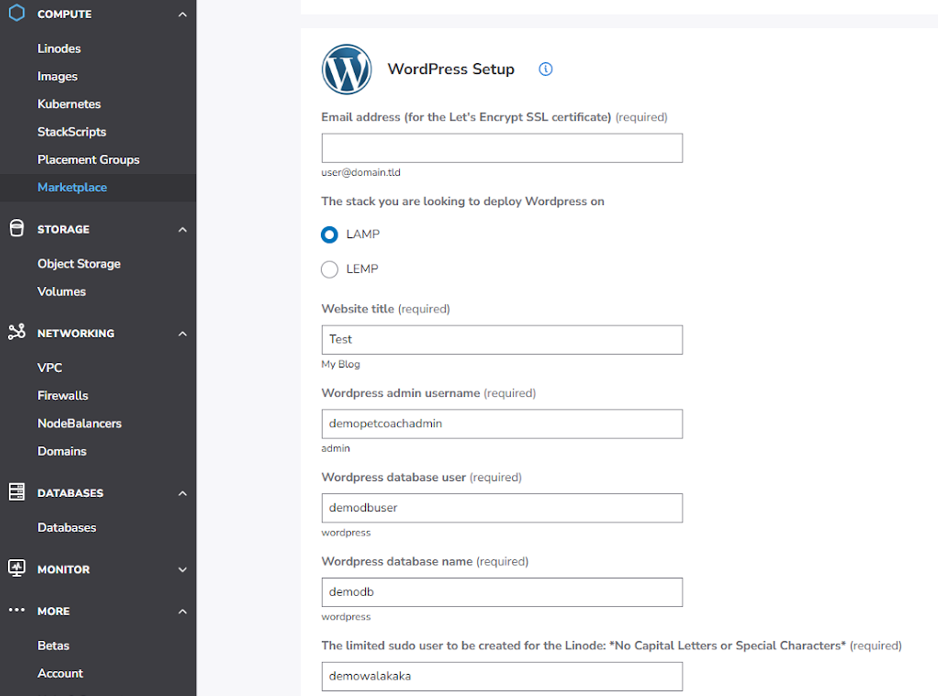
- Email: My Personal Email
- Region: Singapore
- Plan: Linode 2 (I wanted this size)
- Prometheus data export: Set to None
- Root Password: Some hardcore password that you can’t guess
- Create the Linode and wait for it to be provisioned
- Status
Provisioning, means it’s still in progress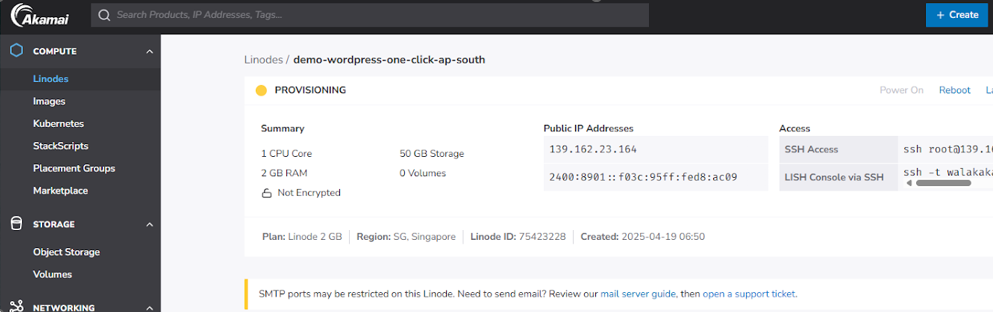
- Status
Running, means it’s completed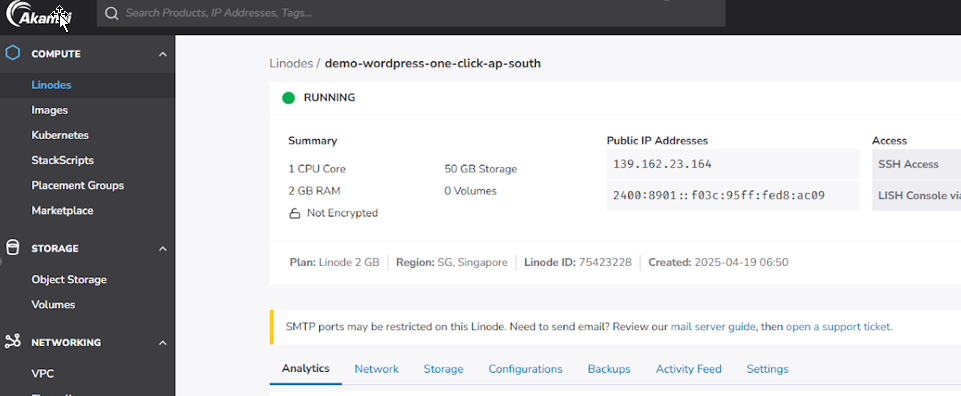
- Status
Configure the Linux (Linode) Server
Once we have spun up our server, we now need to configure it. Steps are as follows:
- Access the server using root – via this command
ssh [email protected]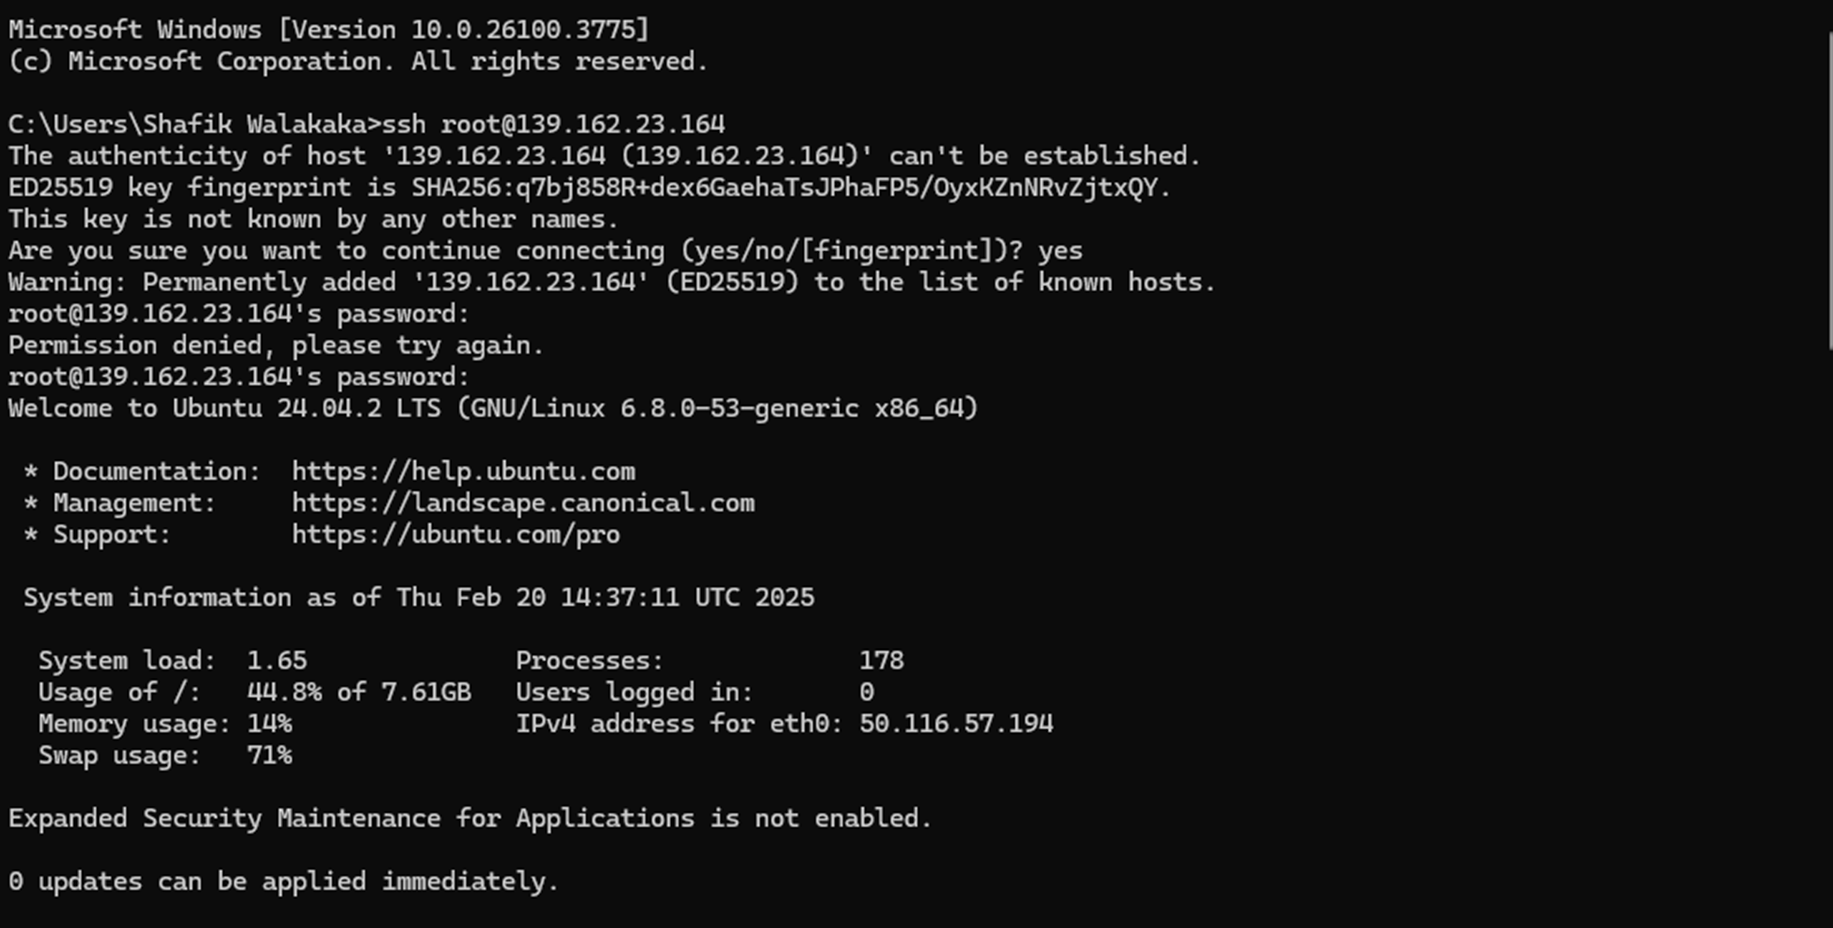
- Check what our sudo user
demowalakaka, is available using this command:cut -d: -f1 /etc/passwd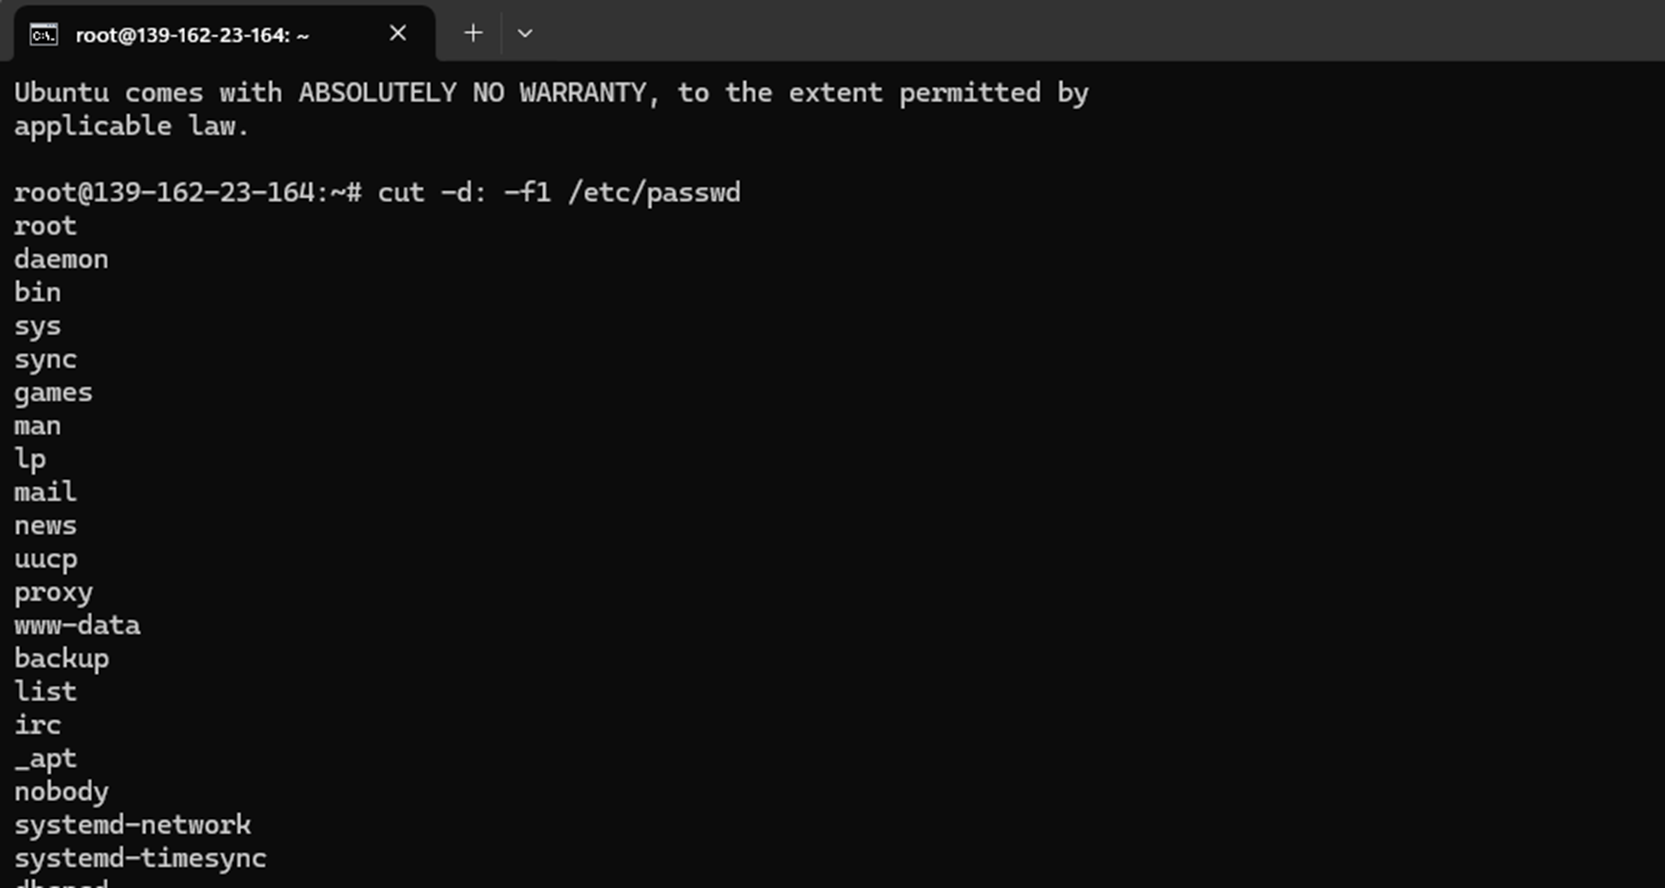
- Update
demowalakakapassword using this command:passwd demowalakaka, and then entering some secure password:
- Now access the server using
demowalakaka, this is best practice not to use the root user
- Now, we verify that the wordpress installation is correctly installed – by checking availability of wordpress files:

- Since wordpress files are there, we also check the configuration that is loaded in the current apache server:
- Run the command
apache2ctl - S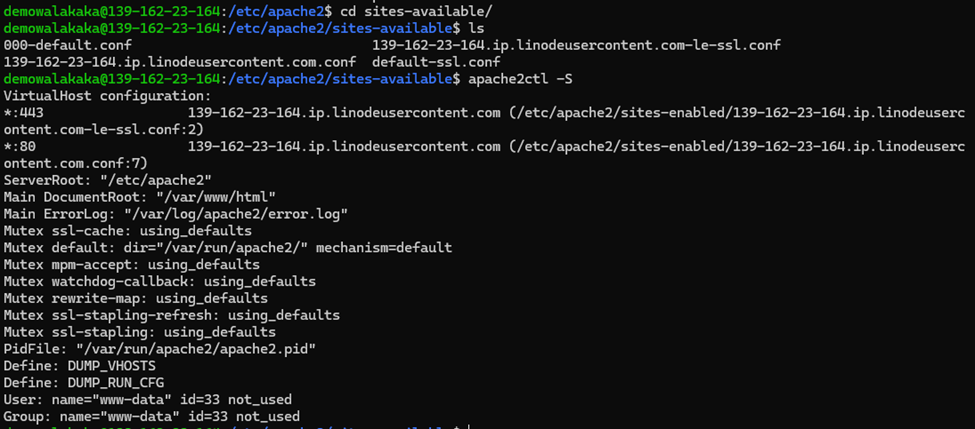
- Inspect the config file of the active configuration to check that the wordpress installation files are placed in the correct location
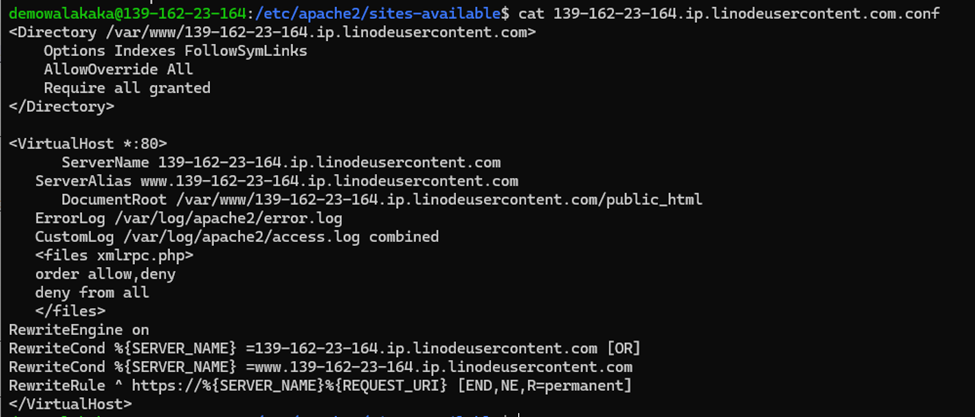
- Run the command
- Since everything looks like it’s in place, check whether our site is really accessbile via the internet – and it is!
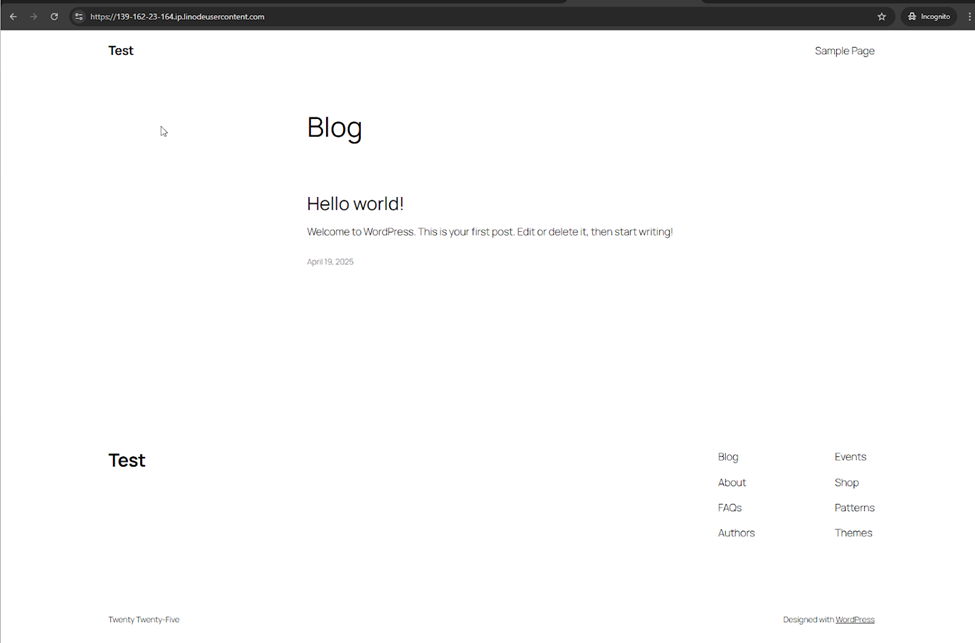
This is great progress so far! We’ve spun up an apache server from scratch, verified the configurations and ensured that the website is accessible from the internet.
So what else is missing?
Installing PhpMyAdmin
So for me – I like the PhpMyAdmin GUI. For this to work, you need to install it. Alternatively, you can always access via CLI via the server, but it’s less intuitive for me.
So I’ll step down how to install PHP My Admin below:
- First, we update the server and install phpmyadmin using the following command:
sudo apt update && sudo apt install phpmyadmin -y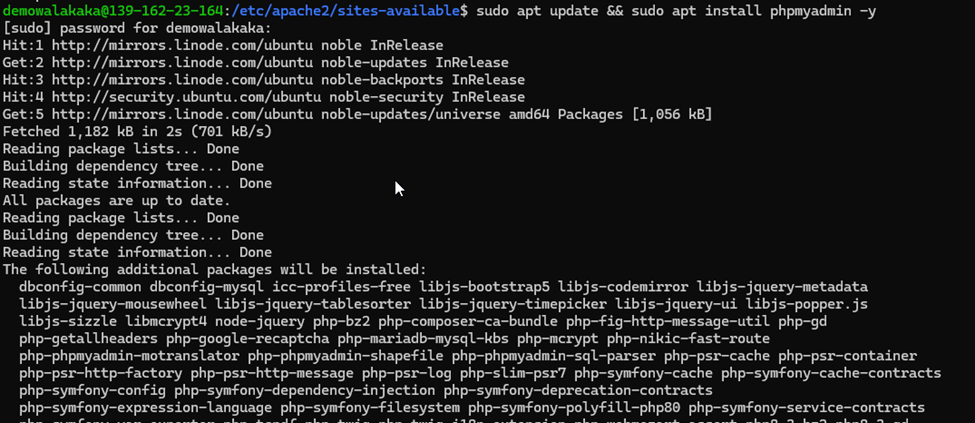
- Next, we need to set the configuration for phpmyadmin:
- Set the configuration:
sudo ln -s /etc/phpmyadmin/apache.conf /etc/apache2/conf-available/phpmyadmin.conf - Active the configuration
sudo a2enconf phpmyadmin - Restart apache server to ensure it’s using the latest config
sudo systemctl reload apache2
- Set the configuration:
- Once you have done the above, try accessing phpmyadmin via:
<baseurl>/phpmyadmin, and wala!- Phpmyadmin is accessible

- Verify that we are able to log into the database and view all the database and tables
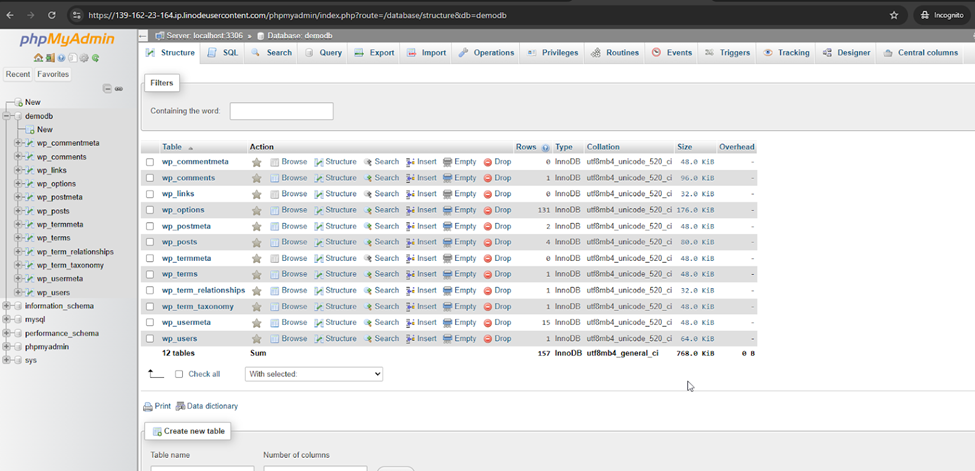
- Phpmyadmin is accessible
Conclusion!
That’s actually all – amazingly simple, if you know the steps.
Now, we have a working wordpress installation on our Linode (Ubuntu) Server. It’s using the LAMP stack.
We also have access to the database via phpmy admin.
The site is also accessible via the internet!
Now that the server configuration is completed, the next step would be to restore you site, or implement your wordpress website.
As I am planning to restore my site, I’ll step down those steps in a separate article.
Stay tuned for more!!